

All companies are struggling to get a client the faster possible. To do so, there are forms on websites. However, when the sales rep reaches the phone to call, the user can already choose the competitor. That’s why the best solution is to automatically connect the sales rep and client as soon as the last one fills in the form. Vitaly Safonov, CCO Assistant at Ringostat, will tell you in detail how to do so.

Vitaly Safonov,
CCO Assistant at Ringostat
I am working as an analyst at Ringostat, and I also control the workflow of the sales department with CRM. However, sometimes clients come with interesting and not usual tasks, so I do them as well. I want to describe such a case in this article. The instructions given here will be useful for everyone who uses forms to collect contacts on their own website or on social networks.
A client who uses the Facebook Lead Ads campaigns to promote on social networks requested us. This type of ad allows collecting contacts of the target audience without making a transfer to the website, business page, or application. It works the following way:
- a person sees a publication with a built-in subscription option;
- when he clicks on the subscription button, opens a form with the fields that were already filled in by a user during the registration on the social network;
- data are automatically collected.
In our case, our client has configured the automatic transfer of such data to Google Sheets. It was expected that sales reps would every day reach the database of users who left contacts. But the employees did not always have enough time to do this on time, and for sure, the client didn’t like the situation. Moreover, he works in the real estate niche. The competition there is high, as well as the price of attracting a client. Thus, he requested us for the automated solution.
I managed to come up with the most straightforward way that didn’t require programmers’ help. It can be used for any website and integration with services. The information from the last ones is driven to the document with the installed script.
Conditions:
- a database with contacts driven from forms;
- there has to be a Number column in the database with the phone numbers to be dialed;
- you must be a Ringostat client as calls would be made via our callback.
1. Raw data setup
Here’s an example of the document with the installed script. Just make a copy of it so you do not need to request access. All settings described below are made in this document.
First of all, you need to enter settings from your project in Ringostat.com to the “Raw Data” sheet. I will describe below how to do so for each block.
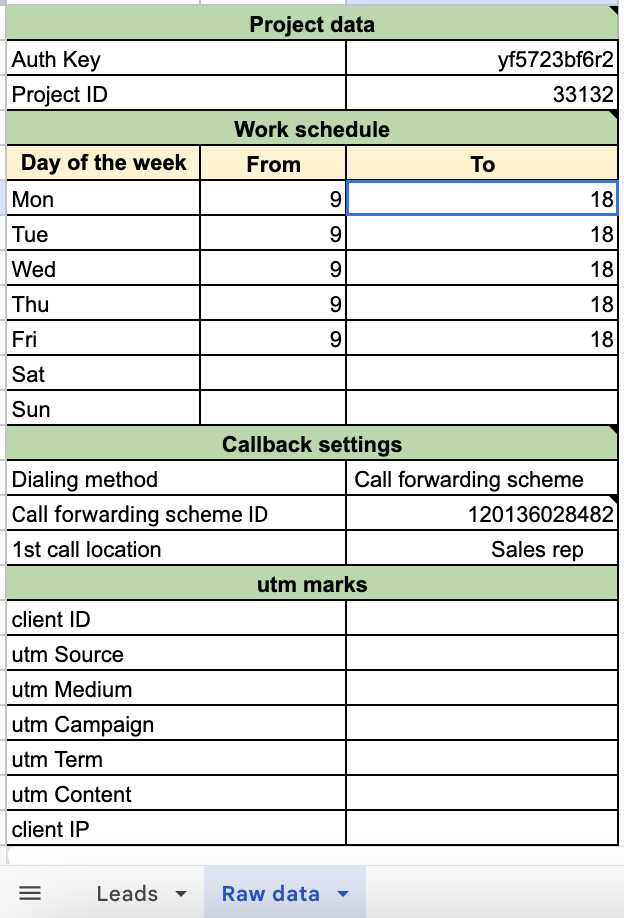
“Project data” block
Make a copy of the Auth Key and Project ID from your Ringostat account: Integration — Ringostat API.

“Work schedule” block
Specify the time when callback will be triggered. For example, our client not only wanted to turn it off for weekends but also not to call back automatically on Monday for contacts that were left on Saturday and Sunday. They are manually processed by sales reps on Monday morning.
IMPORTANT: If there are days off, the cells where you need to indicate the time next to weekends have to be left empty.
“Callback settings” block
- Dialing method. While choosing “Via the phone number”, the call will be made to the phone number that is entered in the cell below. While selecting the “Call forwarding scheme”, the call will be provided according to the call forwarding scheme. Its ID will be mentioned in the cell below.
- Phone number/Call forwarding scheme. The number should be indicated in the format 120XXXXXXX. You can find the ID of the call forwarding scheme in the project settings: Virtual PBX — Call forwarding.
- 1st call location. Callback forwards a call to the one location, and only when the call was answered there, it connects with another direction. In this section, you need to choose who will be the first one to receive a call — the sales rep or a client. Thus, the first one will have to wait until the second answer.
We usually recommend making these settings when a sales rep is the first one who receives a call. So the employee is initially ready for a conversation and feels free for the situation when a client picks up the phone.
UTM marks block
Additional settings. Values that will be transferred and fixed in the project Call Log.
2. Script configuration
Go to the script settings. You can find them in the upper panel of Google Sheets: Tools — Script editor. Set in 2nd and 3rd row the titles of sheets that we will work with if the default ones are not suitable. If the titles of sheets don’t matter and are acceptable, then there’s no need to open the script editor at all.

This configuration stage is over here. Now go to the Leads list with the submitted applications. For example, it might look like that:

The number and order of columns may be different, depending on the collected information.
By default, the column that contains customers’ phone numbers is called Number. If the column title in the sheet is different, you need to enter the required title in the 4th line in the script editor.

3. Verification of the script work
Go back to the “Leads” sheet. In the screenshot below, we see the Status column. It is created automatically by the script and serves as an identifier for numbers that have already been called. After the script was triggered and the call has been made, the word “Called” will appear next to the number. When the function is activated next time, the callback will be triggered for the last number in the sheet. There won’t be written “Called” for this number next to the Status column.
The script will only work if ALL of the conditions below are followed:
- the cell in the Status column has to be empty;
- the cell with the phone number mustn’t be empty;
the time and day of the week when the script detected an unprocessed phone number has to correspond to the work schedule.

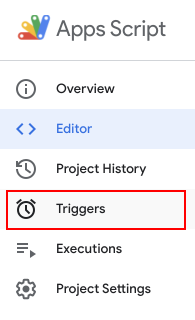
4. Script activation and trigger settings
Now we are ready to activate the script and configure the trigger. It is an additional setting that allows you to start an automatic script operation with the desired frequency. By default, the script will run every 10 minutes after its activation. The rate of the script operation can be changed in the project triggers settings in the script editor.
Select a previously created trigger in the opened window or manually create it, in case if you don’t have one. The work scenario can be chosen in the settings. We are interested in triggering at a given frequency, so the trigger settings should be approximately the same as at the screenshot below. The frequency of triggering can be set in the settings block that is marked in red:

Now we can activate the script. Find “Trigger Activation” among the menu sections in the document. Then select “Activate Trigger”.

IMPORTANT: when the script is triggered for the first time, the system will ask permission for its activation. Feel free to allow, even if Google does not recommend doing so 🙂
The trigger is activated, and now you only need to wait a minute until the script will be automatically triggered. You can also not wait and run it manually for the verification.
Go to Tools — Script Editor, select the runCallback function, and press the Play button:
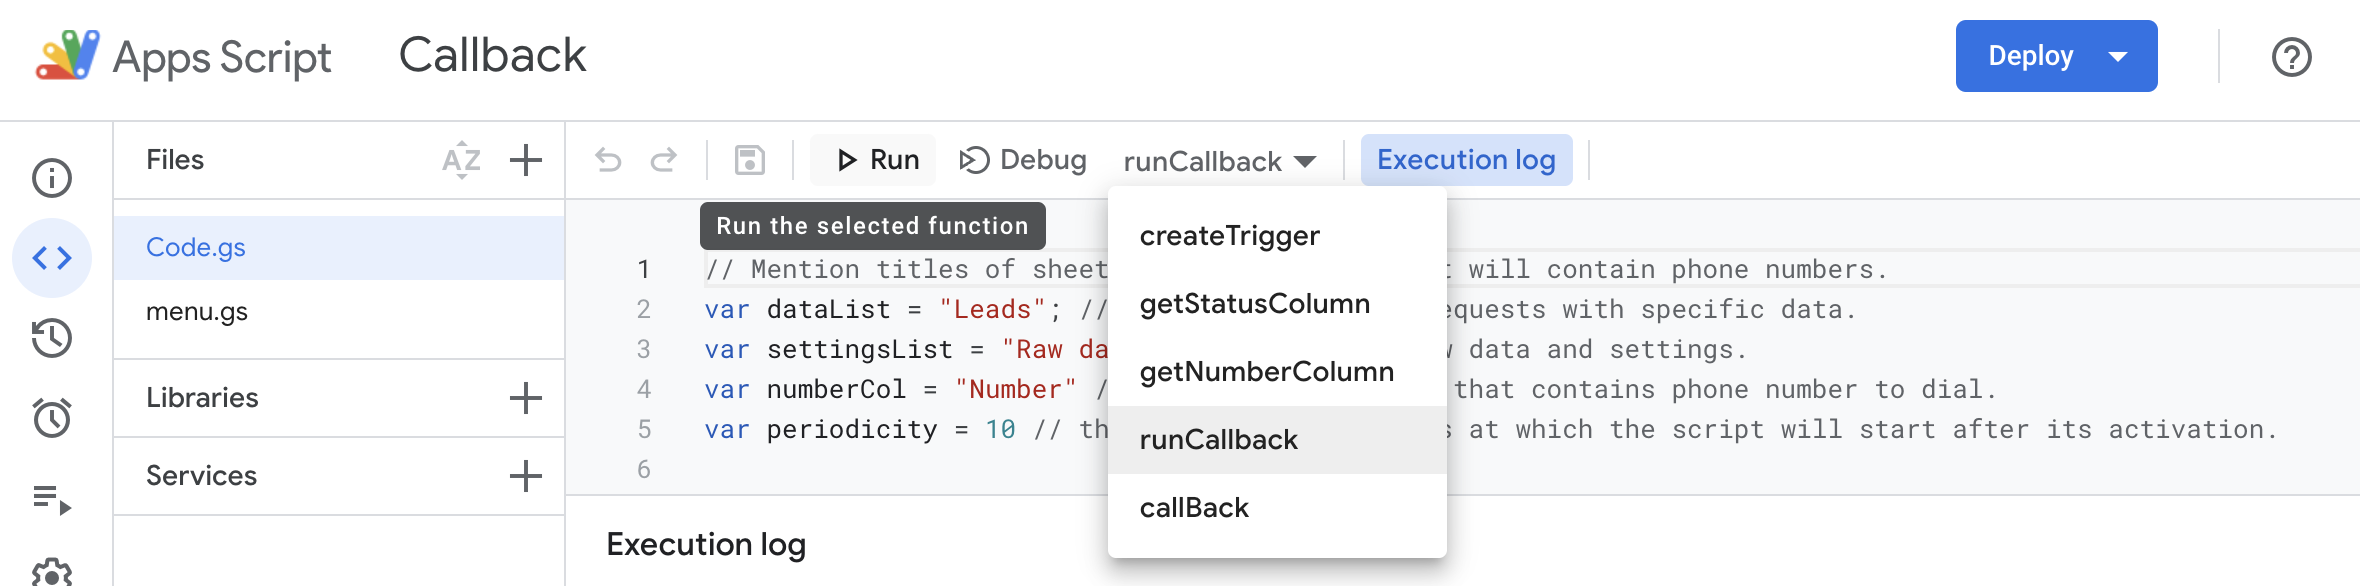
On the “Leads” sheet, we can see that the script was triggered. That’s all. The next Callback initialization will take place in a minute if all conditions are met.
Conclusion: why automated callback is required for forms on the website
- Improving service quality and website conversion or Leads Ads campaigns on Facebook and Instagram. The sales rep will definitely not forget to process the database with collected contacts, and customers won’t have time to choose your competitors.
- Time-saving. Callback runs automatically. An employee doesn’t need to spend his time on dialing customers’ numbers.
- You immediately get the warm lead, precisely at the moment when he considers your offer. Thus, the probability of a closed deal increases, unlike situations when you contact the user in a day or a week.
We also have a similar solution for basic forms on the website. It’s the callback that is activated after filling in online applications. Find more information in the article on our blog.