Lifehack from Ringostat: how to use Google Tag Manager in order to improve your landing page conversion rate. Spoiler: it is about automatic selection of the most relevant H1 title.
- One of the most common problems is a title that doesn’t encourage to make a purchase
- Dynamic website title insertion with Google Tag Manager (GTM)
- An alternative way to increase your landing page conversion
- So, how to set up Google Tag Manager to change your H1 title
- Personalized title increases the conversion rate by 30%
Landing pages exist for different purposes: generating leads, PR, branding campaigns etc. All the mistakes you make creating them lead to a lesser outcome or sometimes no outcome at all. As an example, our latest pane creating a landing page dedicated to an integration of our service with web-analytics platform Woopra, was making a useless redirect to an html sign up form from this landing page to our main website. Our conversion rate from a visit to a click on “Start free trial” button was higher than we expected, about 4%, but guess what — we did not get any signups. We received calls, though. So it is obvious, that it is better to embed an easy javascript sign up form directly on the landing page. Anyway, this post is not about this sad mistake.
It`s about a neat hack (and a bit of coding, sorry) to improve the conversion rate showing the visitors what they are looking for. So, let`s start.
Yes, users expect you to propose the things they are exactly looking for. If your message is weak and difficult to grasp in the short run, visitors will simply close your website. A human searching for information online can be compared to a predator following the prey’s traces. When clicking on a link with a particular message/CTA, we use an informational trace and try to find out if the website we opened meets our expectations. Here there’re lots of things helping us: images, colors, context, etc.
One of the most common problems is a title that doesn’t encourage to make a purchase
Good landing page needs a good title.
- Create short and simple titles;
- Don’t waste visitor’s time. Use one brief sentence to explain them what your website proposes;
- Landing page design has to be attractive;
- Use large print and place titles in plain view;
- Use relevant phrases;
- It’s preferable to include keywords from paid ads into the title;
Let’s type the phrase “wire-free earbuds” into Google search and open the first paid ad:

Our search request “wire-free earbuds” is included into the title, so it proposes the goods we’re exactly looking for. The customers are satisfied and will probably make a purchase on this website.
Dynamic website title insertion with Google Tag Manager (GTM)
Users type particular keywords in a search engine before visiting your website. In order to improve your ads performance, you may change your H1 titles depending on their requests. There’re different services that will help you to do this, but why not use GTM? It is free. Moreover, there’s a Pareto principle at work here: little effort will lead to a big result. All you need is to change H1 title according to parameters in your web page URL. This approach allows to change any element of the landing page (changes are made through GTM with jQuery library). It’s not difficult and further I will explain how to do it.
But, what’s this all for? Personalizing the content of your landing page for different paid traffic keywords. The better they match the search requests, the better is your PPC performance.
People arrive on your landing page typing several different, but always relevant keywords, and it is preferred to place these keywords in the title, in plain view and written in a large font.
Let’s consider our example. As you can guess, we are a call tracking service. Users can find Ringostat landing page by typing “call tracking”, “intelligent call tracking software”, “track calls from website”, etc. These are synonyms. But an ordinary user doesn’t understand it immediately landing on our website and seeing a static title like on the screenshot below. Especially, if they are non-native English speakers.
So, to make a visitor’s life easier, Ringostat landing page changes the title depending on the search request. Here are several examples:



We have picked these phrases to be changed dynamically, because they generate more conversions than the other ones — they bring us more registrations, demo requests and phone calls. Of course, we’ve got a lot of other keywords like “call tracking Spain”, but they haven’t brought a notable result yet.
An alternative way to increase your landing page conversion
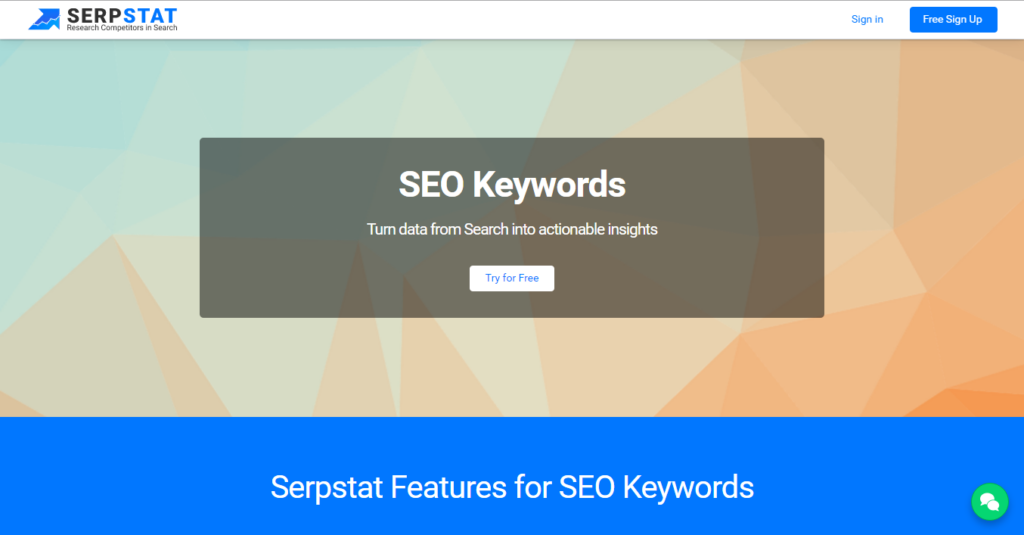
Another way to make your website more relevant to what your visitors are looking for is to create lots of landing pages with different titles and show them depending on the search queries. Let’s consider this approach using an example of Serpstat – the growth hacking tool for online marketers. As it has features useful for different professionals, its marketing guys run several PPC campaigns for different keywords. If you type something like “seo keywords” or “seo services”, you’ll see this landing page:
Searching for things like “competitor analysis” or “competitive intelligence”, you’ll discover this:
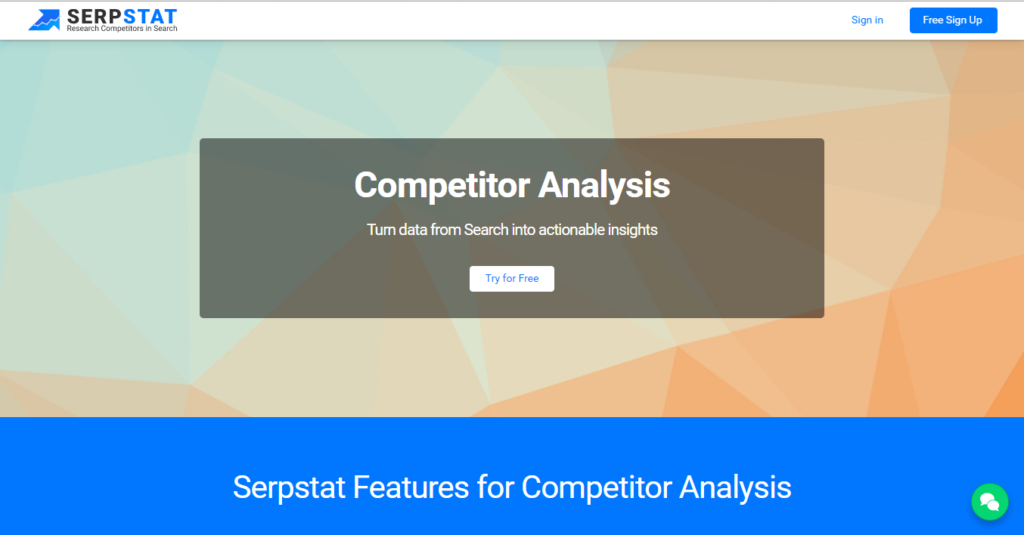
Good idea. Safe and proven way to make your PPC campaigns more efficient and receive a pure analytics data from each of these pages. Serpstat marketers managed to reduce the registration cost by almost nine times after creating these landing pages associated with different keywords. However, creating several landings requires developers and designers to join, well at least on time =). That’s why it’s not the best way if having a limited budget. So you’re free to choose. If you want to try working with GTM, follow the instruction below.
So, how to set up Google Tag Manager to change your H1 title
Step №1. Receive the value of GET parameter you need as a GTM variable. Let’s receive the value of parameter “param” as an example. In order to do this, we create a variable
with the type “Custom JavaSript” (this is how it is named in GTM) and with the name UrlParams.
<script>
    function() {        var query_string = {};        var query = window.location.search.substring(1);        var vars = query.split("&");        for (var i=0;i<vars.length;i++) {            var pair = vars[i].split("=");            // If first entry with this name            if (typeof query_string[pair[0]] === «undefined») {                query_string[pair[0]] = decodeURIComponent(pair[1]);            // If second entry with this name            } else if (typeof query_string[pair[0]] === «string») {                var arr = [ query_string[pair[0]],decodeURIComponent(pair[1]) ];                query_string[pair[0]] = arr;            // If third or later entry with this name            } else {                query_string[pair[0]].push(decodeURIComponent(pair[1]));            }        }        return query_string['param'];    }  </script>
As you can see, we have specified the parameter (“param”) in the last string.
You can copy and paste this piece of code into GTM, creating a new variable (we named it UrlParams). Maybe you’ll prefer to use «utm_term» or «utm_content» here instead of “param” as it depends on which parameter you use in your URL.

Step №2. Let’s get the value of the variable containing a new tag H1 based on its value determined in the first step. In order to do this, we created a variable with the type “Lookup Table“ (again the type used in GTM) and named it DynamicH1. It matches the value of our “param” with the H1 title.
As an initial valuable we insert the variable {{UrlParams}}. You should choose the one you’ve created in the first step.

Then you should specify the value of the content used as H1 for your landing page. To be more precise, you need to manually type:
- an input, which is search query/keywords and are typed by a visitor. Again they are used in an corresponding URL leading to your website;
- an output, which will be displayed in H1 on your website.
I.e, when a user types a keyword “intelligent call tracking software”, he can click on our ad in a search result and arrive on our website, where in URL we add a parameter “intelligent_call_tracking_software” accordingly. The title on the page he will see will be “Intelligent call tracking software”. Simple.
Step 3. Now we set the conditions how H1 title will be inserted on our page. In order to do this, we created a trigger DynamicH1. Its type is “Page View”, the condition is DynamicH1 is not equal to “undefined”, which means our title will be changed each time the URL contains the parameter “param”. We have only one H1 title on our landing page and the parameter “param” is used only for URLs in a paid traffic campaigns, where parameter is a keyword our visitor typed.

Step №4. Now we display the result on the page. Create a tag with the type “custom HTML”. Its content will depend on the presence of jQuery library included.
If you already have a jQuery library on your website, then just insert these strings of code:
<script>
    jQuery('h1').text({{DynamicH1}});
 </script>
If you don’t use jQuery, include the string
<script src=»ajax.googleapis.com/ajax/libs/jquery/1.12.2/jquery.min.js">
   </script>
before the previous code.
Follow the screenshot below in order to activate your DynamicH1:

Step 5. Press the button “Publish” and check the result on the landing page.
Personalized title increases the conversion rate by 30%
Just a small example from Fiverr.com. These guys ran an А/В test and replaced their landing page title

by the new one

The result: conversion rate increased by 29,81%.
The next step was changing the subtitle only:

Conversion rate grew by 15,41%.
Thus, using a simple algorithm of automatic title insertion on your landing page increases conversion from paid traffic up to 30%. It’s a significant result achieved without large expenses and costly services.

